
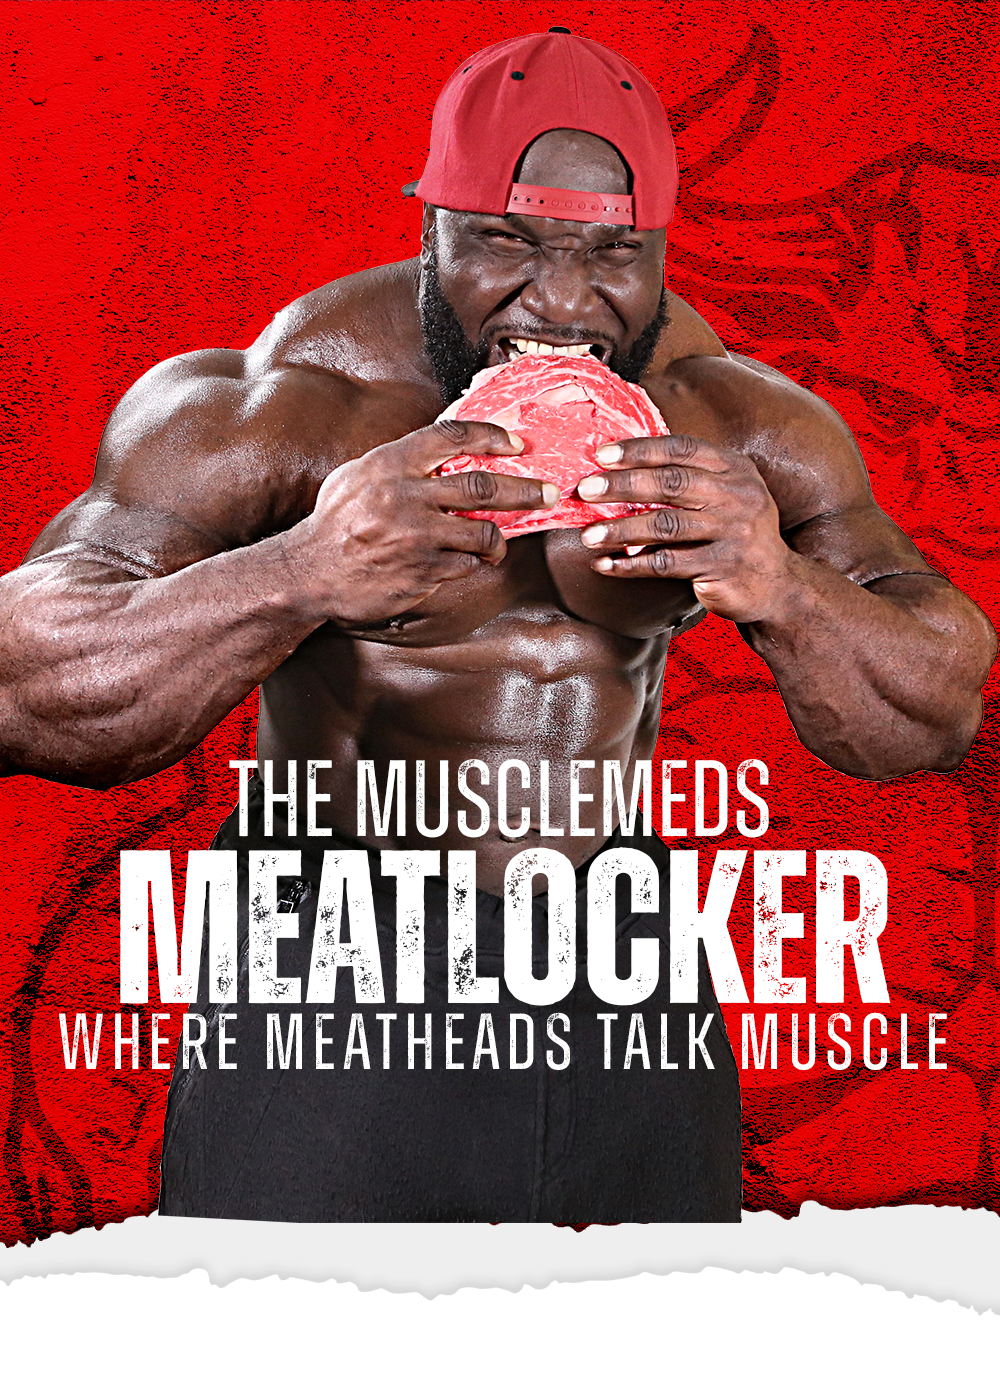
beefy blog articles
THE MEAT & Potatoes
Training
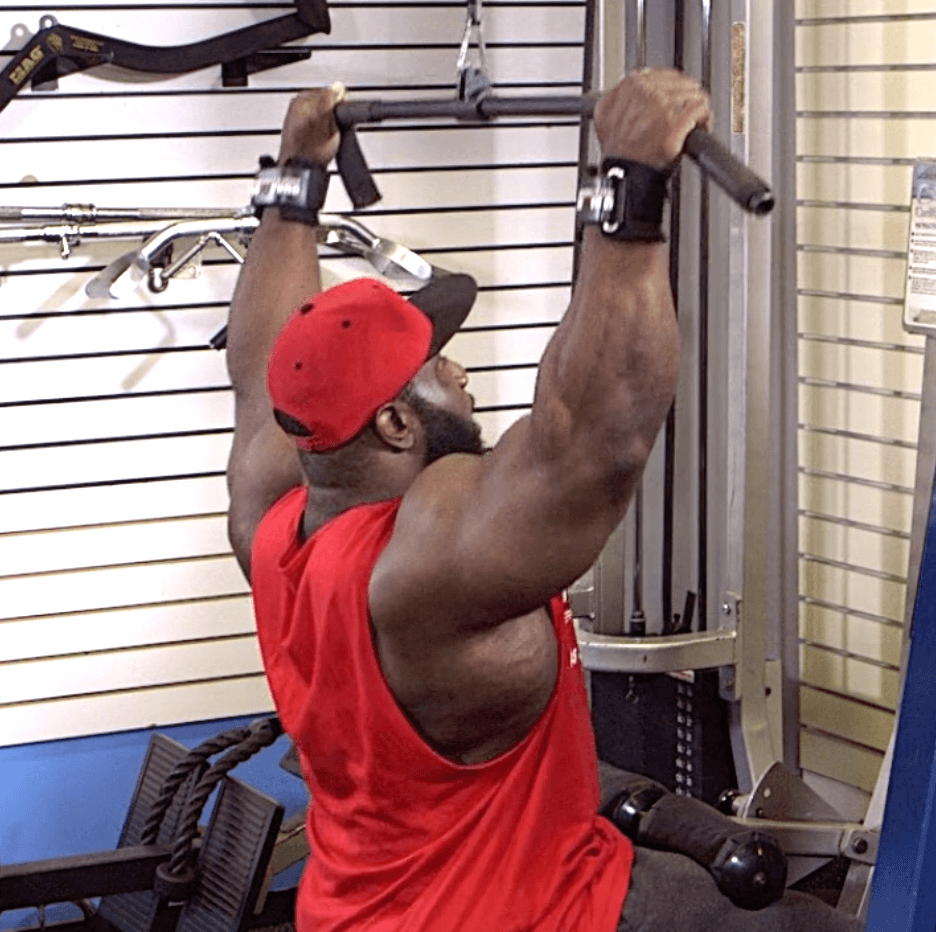
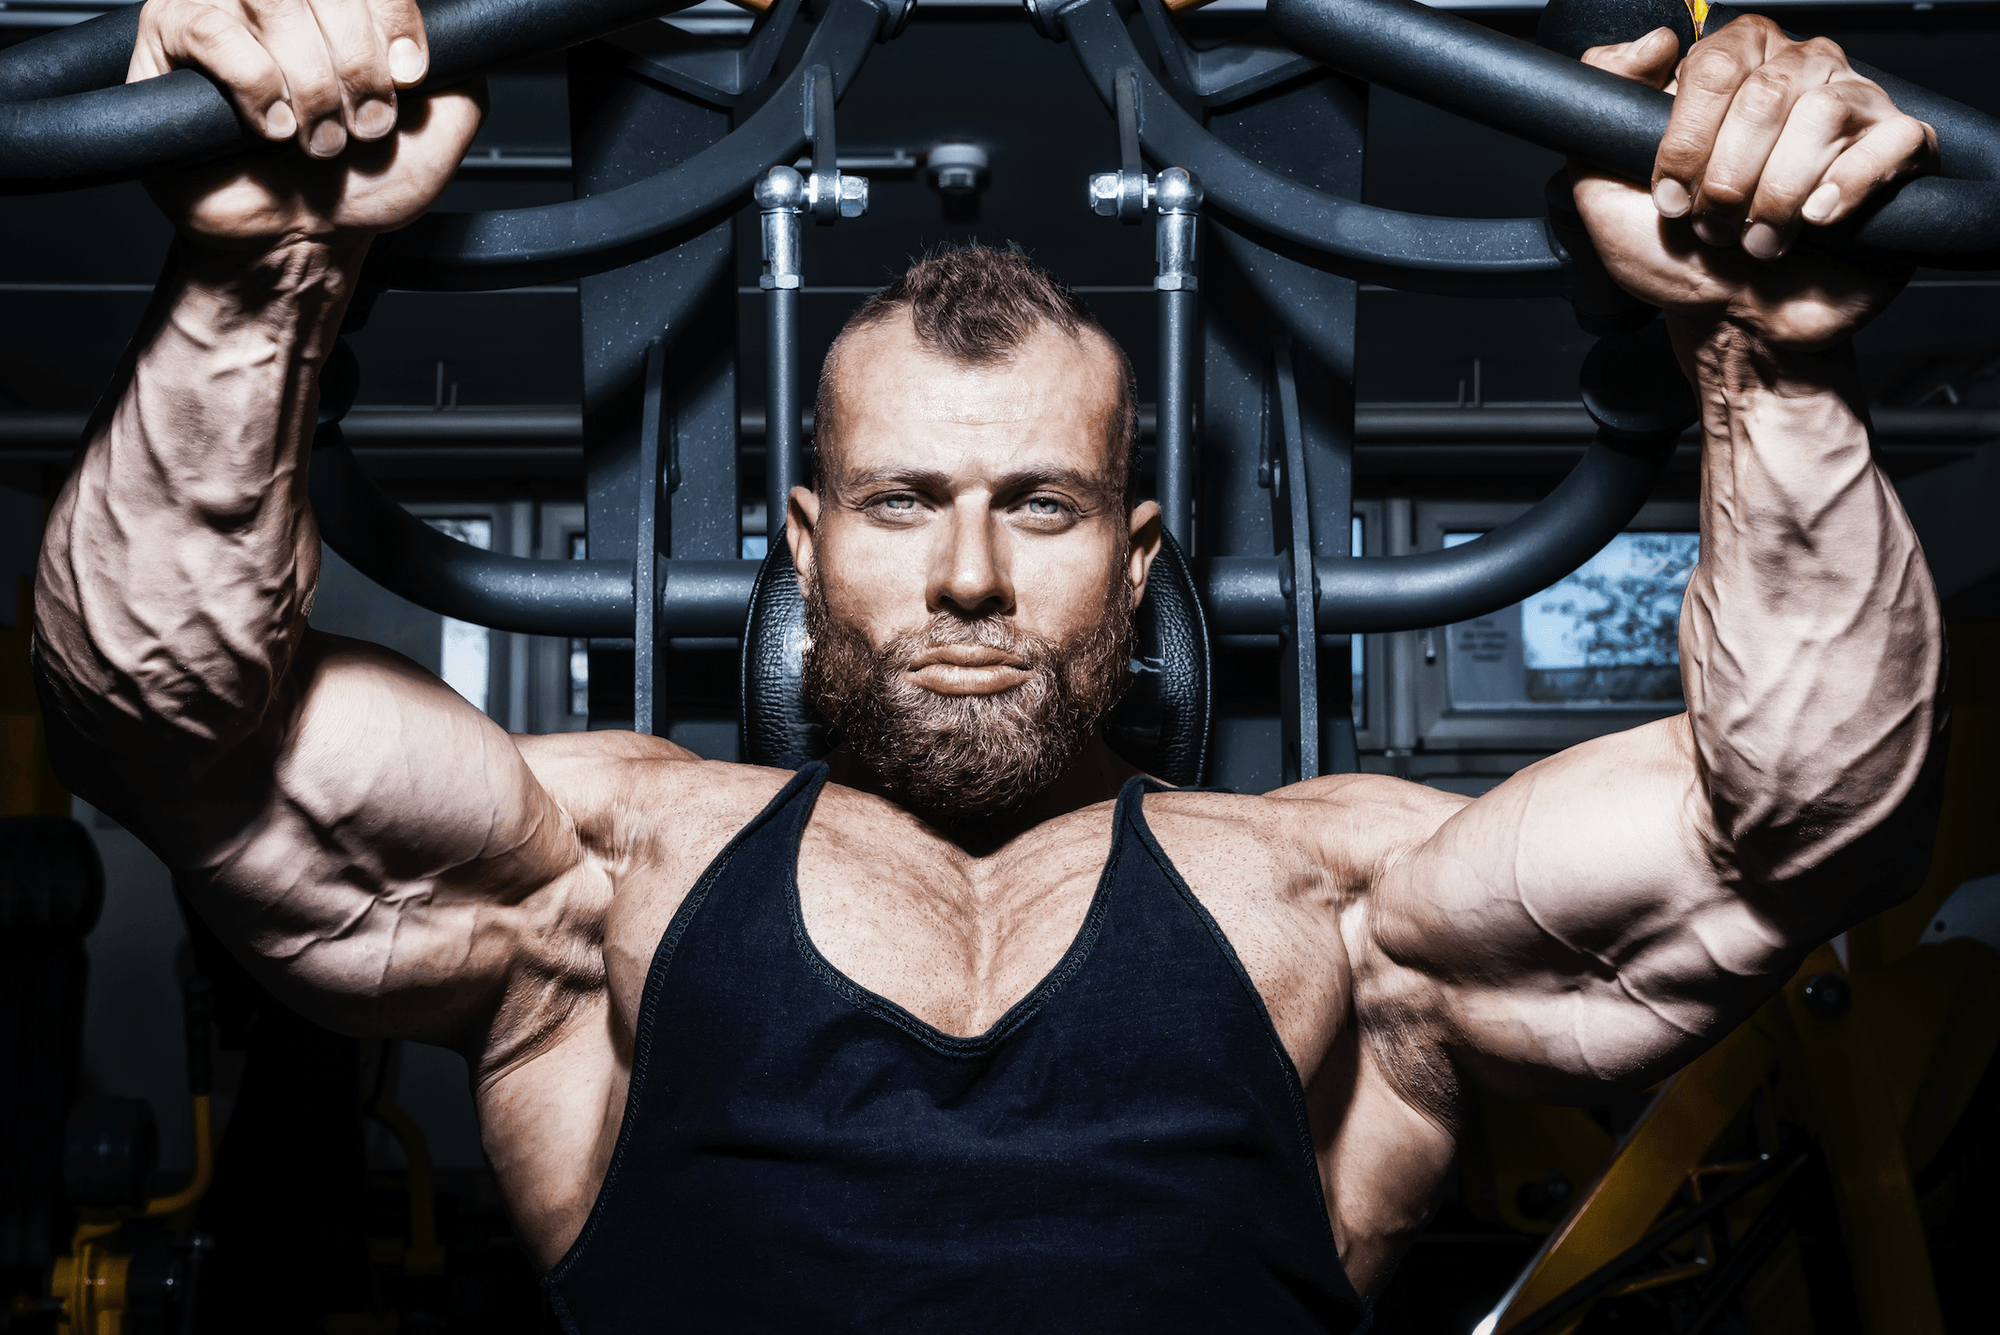
Hitting Chest From All Angles
Building a powerful chest is on the agenda for nearly everyone who begins a weight training journey. Even with a lack of knowledge to start, everyone has that vision of putting up some serious weight on the bench press. In this article we’re going to dive into more than just how to increase your bench press, we want to focus on building a strong chest overall both physically and visually. While the bench press holds its place in this process, it is just a small piece of the puzzle. Sculpting a complete chest requires a knowledge of how to target the upper, middle, and lower chest. There are countless different training techniques of rep counts, slow eccentric/concentric movements, drop sets, etc. we will be focusing on the particular choice of exercises.
Working from the top down, we’ll start off what is often believed to be the most important focus point. Packing on mass to your upper chest can be difficult, but extremely rewarding both in terms of strength and visual results. Most will notice that their incline bench press tends to be weaker than their flat bench right off the bat. This may not be the case for all, but the majority of individuals beginning out their life in the gym will notice this challenge when it comes to incline pressing. There are a number of factors that play into the reasoning for this. When your body is positioned for the incline press, the body is unable to recruit the entire muscle to complete the movement. The stress is placed on the upper portion of the pec along with the shoulders in order to manage the weight. When it comes to incline barbell/dumbbell pressing the range of motion heavily differs from flat bench movements. Stabilizing the weight to not only come down, but prevent it from falling forward is a new challenge your body must take on in order to complete the movement safely. Putting an emphasis on these exercises can greatly benefit your shoulder strength. The mid-portion of our chests is often the focal point of most chest day workout routines. The majority of movements performed on a flat bench will be targeting this area. While you may be strongest with these exercises, it’s important to branch out away from them if you want to develop proportionate strength and mass to your chest. The lower portion is often the most neglected, as the choices of exercises are more limited. This part of the pectoralis will still be activated during movements such as the flat barbell bench press, but choosing to isolate it with a few select movements can be the difference in creating a strong lower pec line. To build a balanced chest, we must be careful in our selection of exercises to not only divide the focus between the upper, middle, and lower best but also the inner, outer, and center portions of our chest. Evenly distributing strength throughout the chest will help increase the size and strength of The following chart offers a well rounded variety of exercises to ensure all portions of the pec are activated throughout your training session.
Lower
Middle
Upper
Decline BB Bench Press
DB Floor Press
Incline DB Press
Decline DB Flys
Pec Deck Machine
Incline Cable Flys
Dumbbell Pullover
Plate Loaded Chest Press
Decline Push Ups
Standing DB Chest Raises
Reverse Grip BB Bench Press
Incline Svend Press
member
Cluster Sets & How To Use Them
Over the years spent in the gym you have likely heard of and performed supersets and drop sets to shake things up with your training. Cluster sets were actually introduced into the weightlifting world back in 1976, but have flown under the radar for years. They can be a powerful method to overload the muscles to improve muscle strength and size through unique methodology. This is an effective method to help break through a plateau that has kept your progress stagnant for some time. While cluster sets are typically used to boost compound lift strength, you can still reap the benefits for accessory movements as well. The science behind the effectiveness of this method is fascinating. To give you a better understanding as to why this style of training is so effective, let’s get a general understanding of how the body responds to it internally.
Our muscular systems are made up of two types of muscle fibers we will refer to as fatigue and fast twitch. Typically only fast twitch muscle fibers are associated with weight training, and few mention the use of slow twitch in the gym when resistance training. Studies have shown that slow twitch fibers do in fact play a role in weight training. These fibers bring blood to the muscles, help prevent fatigue, and extend muscle contractions for prolonged periods of time. Cluster sets activate and recruit both of these types of muscle fibers, making this a powerful method for building both strength and endurance in the gym. Because this training calls for heavy weight to be used, your fast twitch muscle fibers will be relied on primarily. Due to the length of each set and your body being deprived of rest time, slow twitch muscle fibers will be utilized as well to endure the length of the set. So what is a cluster set and how do you perform them? Let’s break it down.
Cluster sets are lengthened sets that include intra-set rest time. For this style of training, you’ll have to shift gears in your mind. Typically you bang out a strong set, rest, and repeat. When performing cluster sets you will perform a small number of reps, rest for a short period of time, complete more reps, rest again, and repeat 1-2 more times for a total of 3-4 cycles before one set is complete. Only then will you rest for generally between 60-90 seconds. Now that you have a general understanding of how these sets are performed, the next step would be figuring out your ideal number of reps and rest time to aim for.
Similar to supersets and drop sets, there is no set number of reps/sets that is required to properly perform a cluster set. There is flexibility and experimenting with different ranges is recommended to find what works best for you. Although there are some recommended places to start. For those who are focused on strength gains, the Poliquin 5x5 cluster set is one of the most favored ranges to hit. This method puts your maximum strength to the ultimate test. You will utilize roughly 90% of your 1RM to perform the following
Step 1: 1 Rep Followed By 15 Second Rest
Step 2: 1 Rep Followed By 15 Second Rest
Step 3: 1 Rep Followed By 15 Second Rest
Step 4: 1 Rep Followed By 15 Second Rest
Step 5: 1 Rep Followed By 2 Minutes Rest
That concludes ONE set. Repeat for a total of 5.
When size is the price, cluster sets can be a powerful method when it comes to hypertrophy. A simple shift of the sets/reps/rest can be put in place to change the focus of the set. These sets will focus on volume and constant intensity to overload the muscles.
Step 1: 3 Reps Followed By 15 Second Rest
Step 2: 3 Reps Followed By 15 Second Rest
Step 3: 2 Reps Followed By 90 Second Rest
That concludes ONE set. Repeat for a total of 4.
Like any other training method, some trial and error may be needed in order to find out what works best for your body and goals. Utilize cluster sets to break through plateaus when it comes to strength and size. This hidden technique can be the push you need to break new ground. Just be prepared because these sets will be sure to leave you hurting for several days to follow due to the prolonged length of the sets that will be a shock to your system.

Training
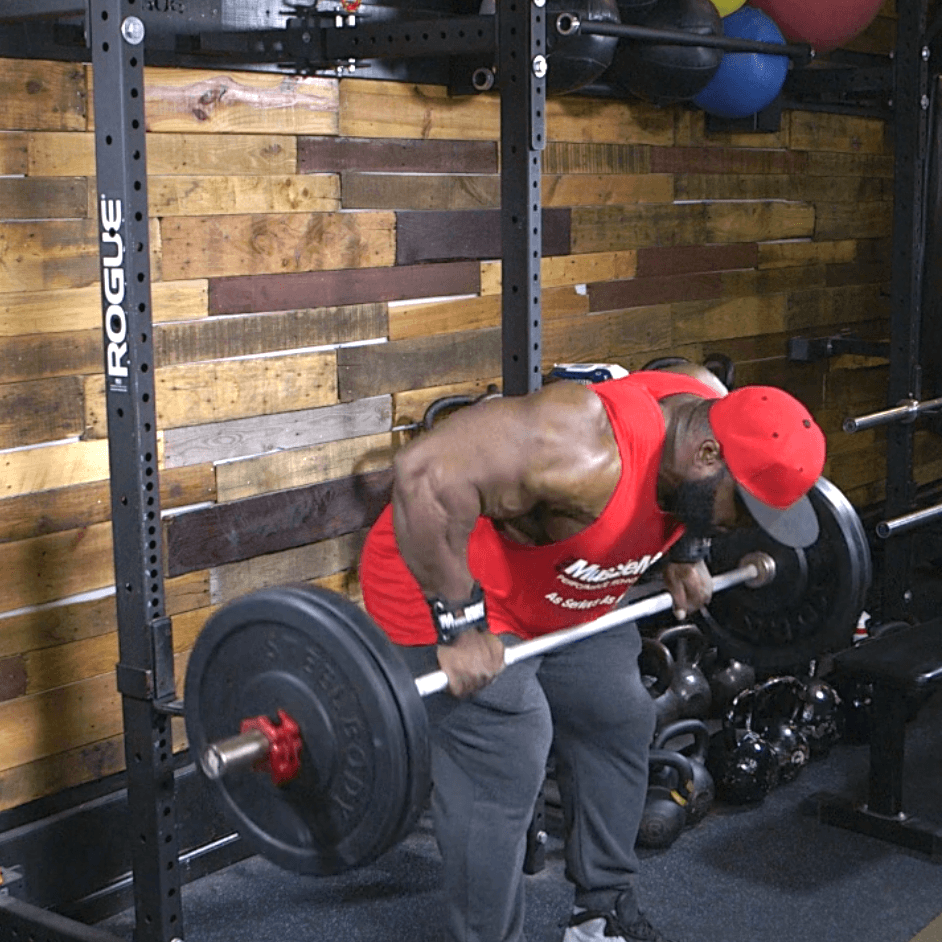
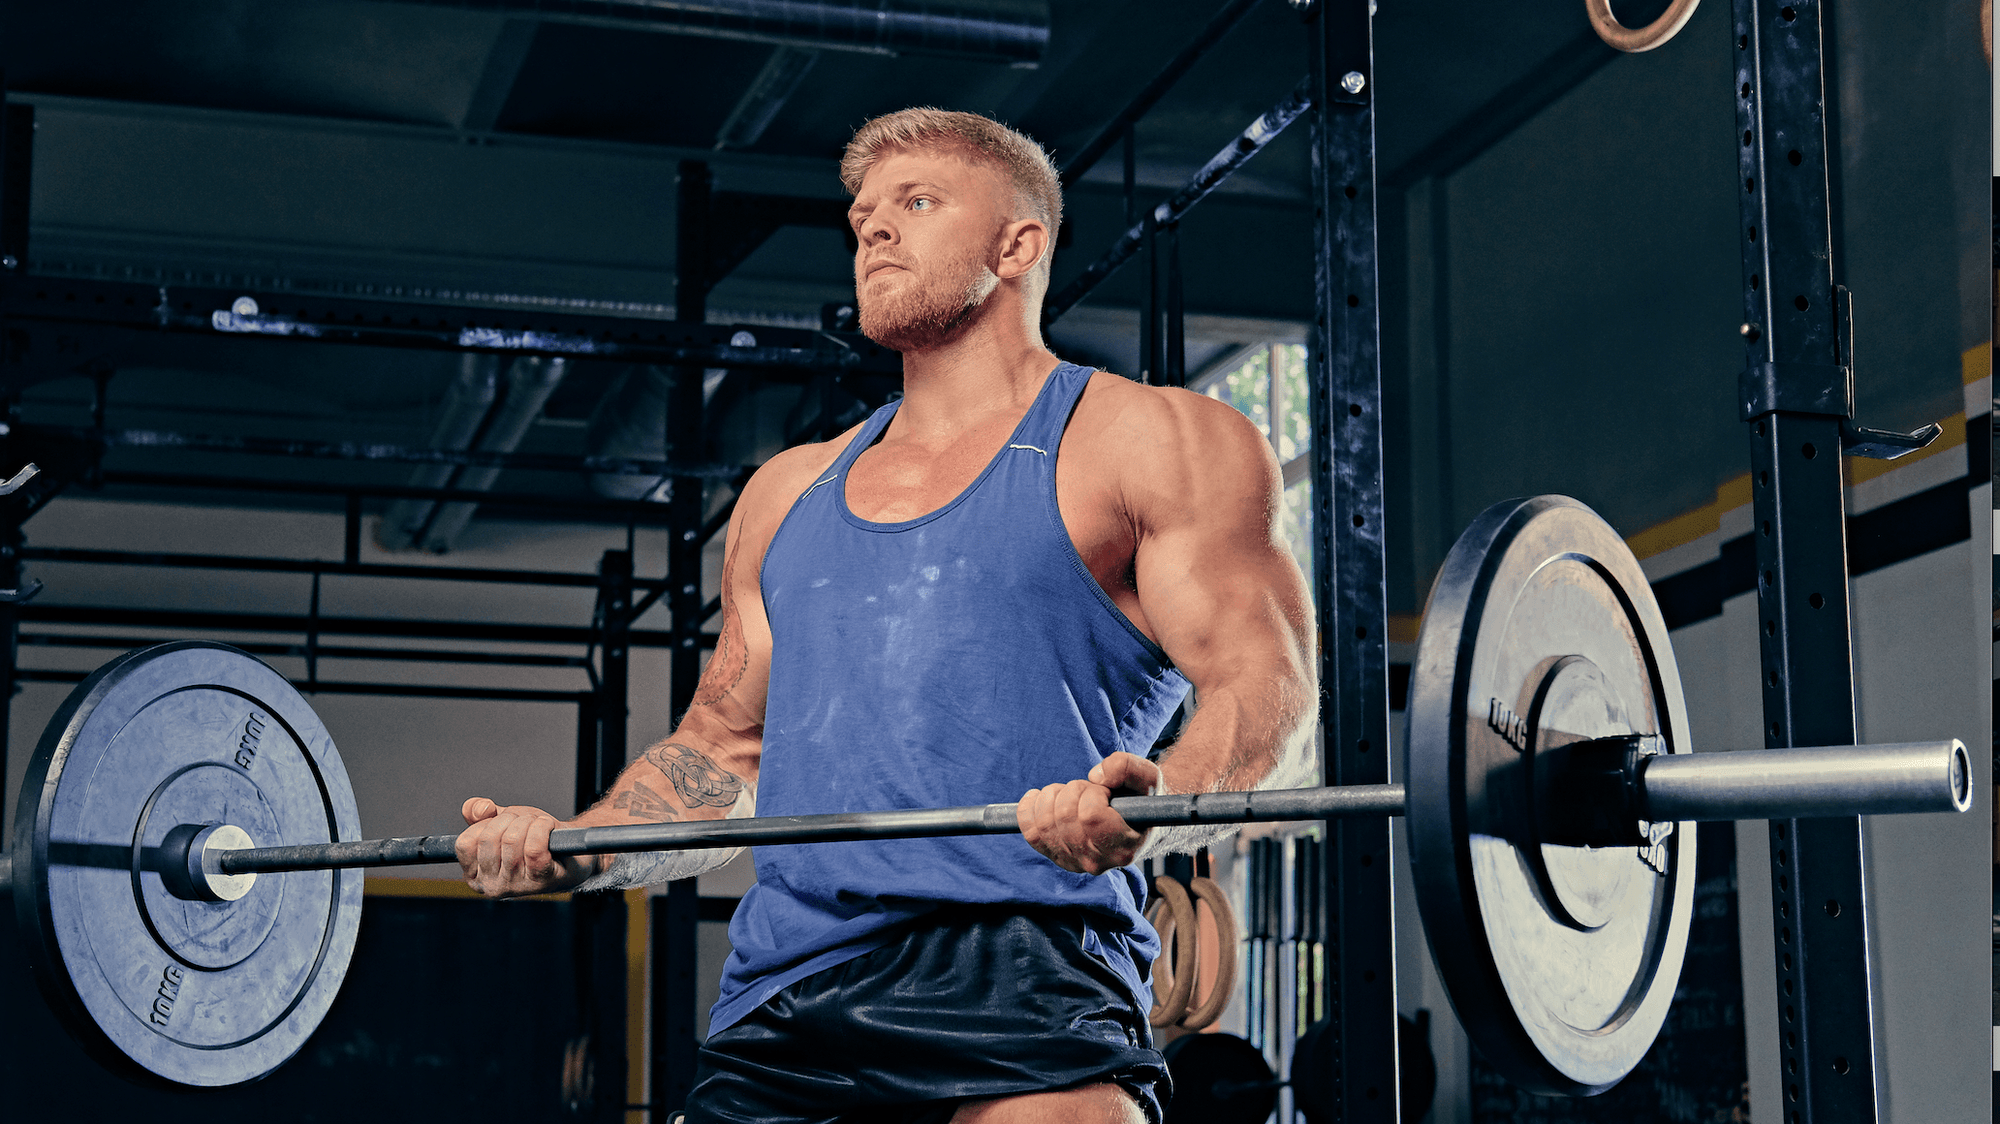
How To Improve Your Deadlift
Deadlifts. The ultimate test of strength, where gravity is your arch nemesis. A movement that activates a number of muscle groups from the hamstrings up to the biceps. Some muscle groups are much more engaged than others, but overall this is considered a full body exercise. This is one of the 3 primary power compound lifts, very commonly tested in powerlifting meets across the globe. In this article we’ll discuss how to improve your deadlift through both form and assistance movements. First and foremost, this movement is one of the most complex and challenging to perfect. There is high risk for high reward when it comes to the deadlift. As full body strength is developed, the risk is heightened and form must be flawless to ensure safety.
Position your body in front of the bar, with your feet placed underneath hip-width apart. As you descend towards the bar, ensure your shoulders are pulled back and your chest stays facing upwards. Keeping your back straight is a key element to perfecting the deadlift, our intention is to never see it rounded from start to finish.
Your grasp of the bar should be just a hair wider than shoulder-width apart. A mixed grip (one palm facing inwards, one palm facing outwards) is recommended for conventional deadlifts.
As you begin your ascension, your shins should be centimeters from the bar. Maintaining your retracted shoulders, push your hips forward as the bar rises. It’s important to ensure your chest stays in the upward position all throughout.
It’s key to make this one fluid motion. Avoid straightening your legs too quickly and pulling the rest of the motion with your lower back. As the bar moves, your body should slowly straight out in sync with it.
Lock the bar out at the top of the motion without leaning backwards, then slowly descend in the same fashion you pulled the weight. One fluid movement as the bar descends, your body moves back to the starting position along with it.
Let’s shift gears on how to improve your lift. A key accessory movement that will particularly help with the second half of the movement (bringing the bar from past your knees to lock out position) is the rack pull.
Rack pulls must be performed in a power cage or half cage. Set up the bar to be in starting position just under your knees. The lower the bar, the more glute/hamstring activation, while the higher you position the bars starting position the more back muscles will be utilized.
With your feet shoulder width apart and bar centimeters from your shins, position your hands shoulder width apart and grab the bar with an overhand grip.
Keep your chest up and back straight as you ascend, pushing your hips forward.
As you reach full extension pull your shoulders back. Then return the bar back to starting position while ensuring proper form.
Lastly, let’s tackle the first half of the deadlift movement. Fighting gravity as it’s peak and performing that initial pull off the floor up to about your knees. Conquer this beast by performing deficit deadlifts. This is executed by performing the complete deadlift standing on an elevated platform about 1-4 inches off the ground (the higher off the ground, the more challenging). The deficit deadlift increases the range of motion for the movement. This requires an increased recruitment of muscle fibers from the quads and posterior chain.
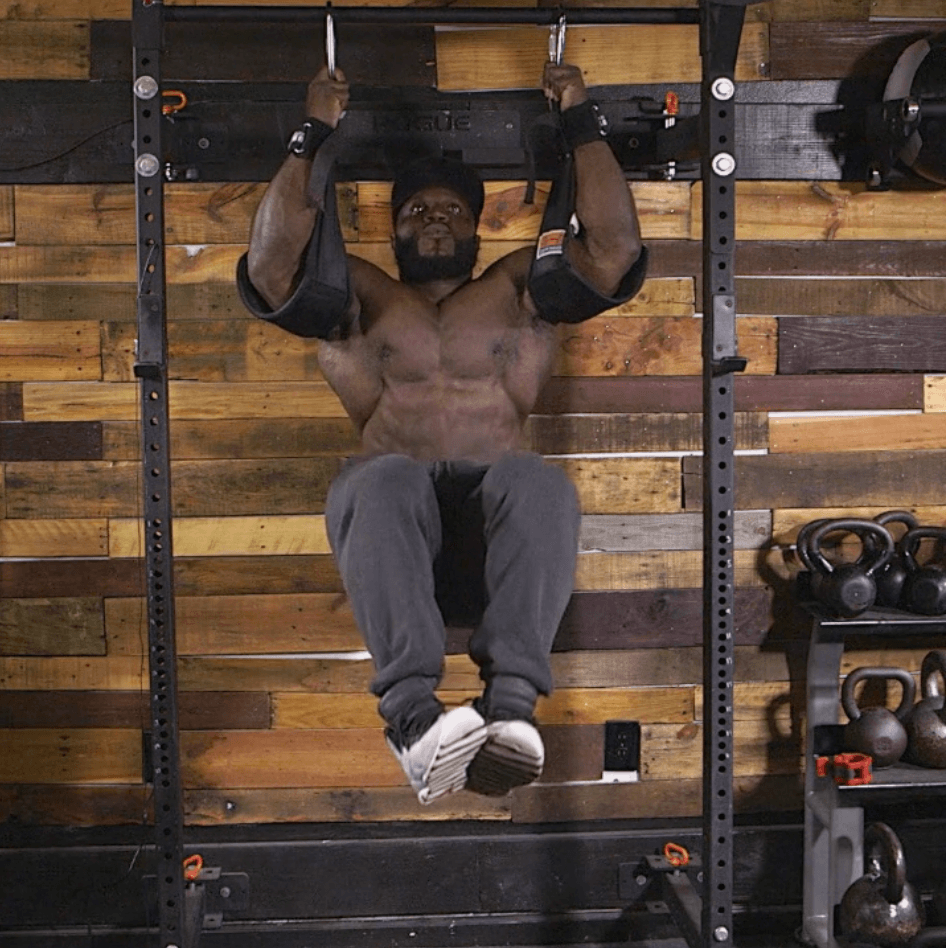
These are the foundation of building deadlift strength. There are other movements that are highly recommended to include in your strength training protocol as well such as farmers walks to build grip strength.
Training
Mastering The Box Squat
Barbell squats are the foundation to leg day. A staple movement that many would argue is an absolute must for developing a serious set of wheels. While squats are considered the ultimate test of lower body strength, having both core and upper body strength are a must...Making this one of the most demanding exercises the human body is capable of. Building up your strength can come quickly at the start of your lifting journey, but as time goes on your progress can become stagnant. Powering through a plateau does not come easy, and beginning to add in accessory exercises to help you develop lower body strength will become necessary in order to continue breaking new ground. The box squat goes hand in hand with building lower body strength. In this article we’ll discuss the mechanics, the reasons behind the effectiveness, and how to perform this accessory lift.
Squats involve a number of working muscles. You could justify a substantial number of exercises as accessory exercises to boost your performance when squatting such as leg extension for quad strength, Romanian deadlifts for hamstring development and so on. You should include those standard movements to develop well rounded strength throughout your lower body, but when it comes to developing raw power the box squat is king. All that is required to perform this is your standard squat set up including a rack or cage, barbell with weights, and a plyometrics box or something study that could serve a similar purpose. To start it’s recommended to choose a box that is just above knee height. As the movement is perfected, slowly working with lower height boxes can continue to develop your skills.
So what makes box squats effective? For starters, it’s a more challenging movement. There is no comparison between a complete dead stop at the bottom of a squat and powering back up to starting position versus a traditional squat where you have momentum built and only a half a second pause or so at the bottom of the movement. The pause at the bottom of the box squat kills all momentum and forces you to recruit the glutes and hamstrings to help you muscle your way back up. This recruitment of muscles will directly translate into your traditional squats, and help you power back up with ease just as a rack pull aids you with the upper portion of a deadlift.
Due to the heightened challenge box squat pose, the maximum weight used will not be nearly as much as your traditional squat. This lowers the amount of spinal compression which can play a key role in longevity. The lightened load and the range of motion also reduce the stress on the patellar tendons, saving your knees in the long run from too much wear and tear.
How to execute a box squat properly.
Set up as you would for a traditional squat inside a rack or power cage. Using just the weight of the bar, unrack it and position yourself the distance away from the rack where you would perform your squats. Take note of the distance. Rerack the weight.
From this spot, place your box behind you so it is just touching your heels
Add your desired weight, unrack the barbell, and step back to position yourself for your squat.
Keeping your chest up and back straight, descend into the squat slightly pushing your hips back.
As your glutes reach the box it is important to not release all tension off your muscles and fall into the box. Keep the tension constant as you slowly begin to transition. Aim to place your glutes entirely on the box, you do not want to be hanging off.
Do not bounce off the box. Cut all momentum off as you sit. Pause for two to three seconds. Drive with your heels and ensure your chest does not fall forward as you begin to ascend and return to starting position.
Challenge yourself in the long run by adding additional weight and lowering the height of the box slightly over time. The box height should never fall more than a few inches below knee height. Utilize this accessory movement to boost your squat strength, ensure longevity with your knee and spine health, and master the art of squatting by slowing down the movement and building the mind-muscle connection.
JOIN US ON INSTAGRAM
@musclemeds_carnivor

akim williams
TRAINING TIPS
Locked Out?! Are you a MuscleMeds Member?
GET FULL ACCESS
You'll notice some posts are restricted to MuscleMeds Members Only! Become a member today and unlock access to all of our videos, articles, exclusives, and more!